
How to replace the glass cooktop in a Frigidaire / Electrolux range

Entry posted by Samurai Appliance Repair Man
10,539 views
If your are going to replace a broken glass top with 5 elements, this might help.....
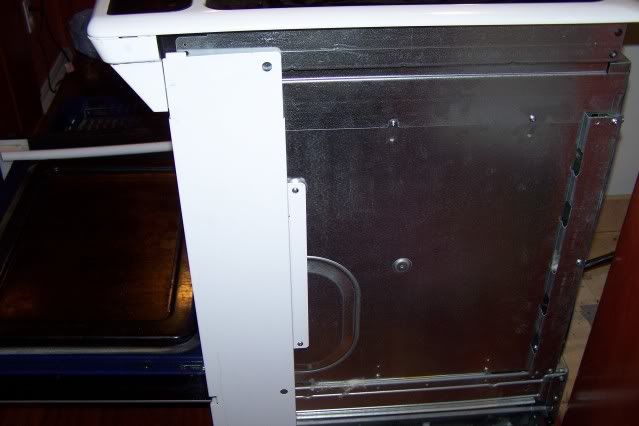
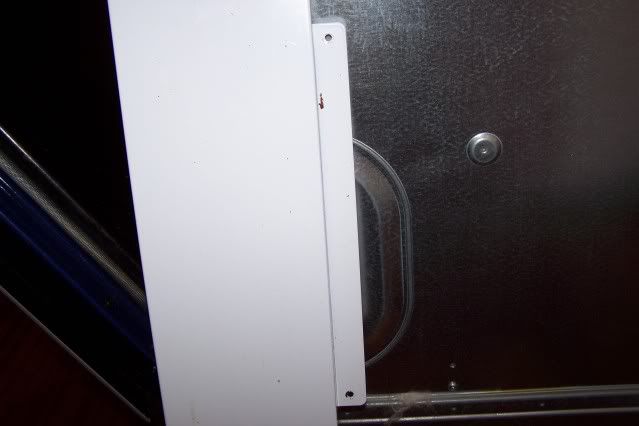
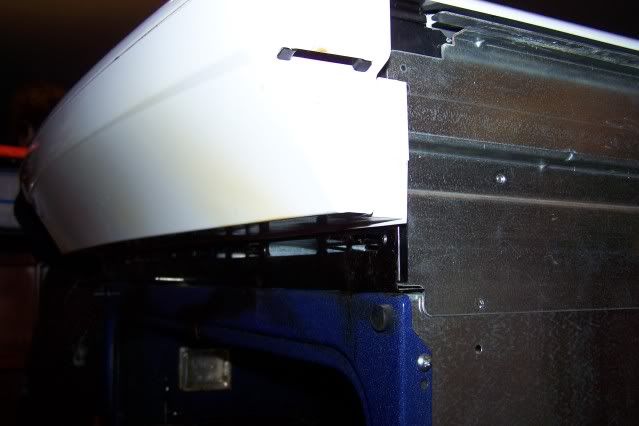
Pull the unit out so you can get to the front and the sides without being a contortionist and more room to lay the two tops side by side.... Remove the two screws holding the white panels ( left and right sides) ,
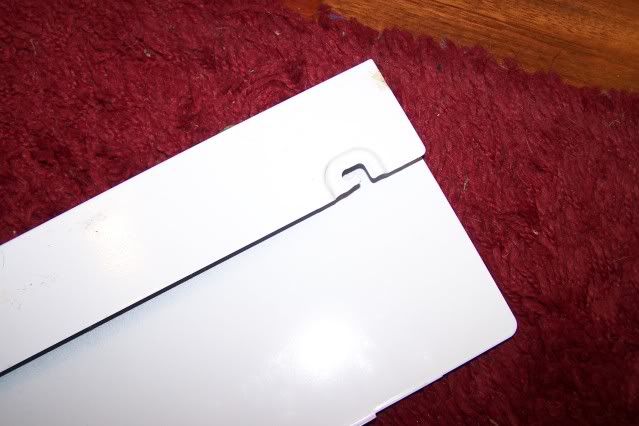
lean panel towards the door, the lowest fastener has a slot to hold in place
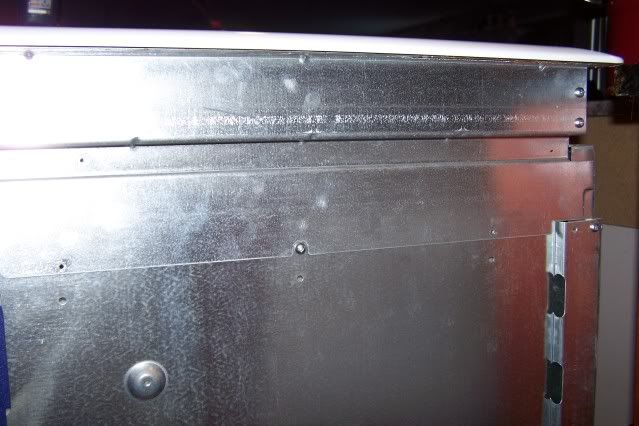
, Remove the panel below the cooktop, four screws on each side
, There is a screw , black, on the front of the oven opening.. remove the screws left/right sides .
.... Remove the screws at the clip, two legs visible,.......Get a mirror and look at each end, up in a small opening the is a screw, remove two..left/right sides..... then the two screws near the oven opening and the lower panel will fall down... Then using the mirror again look up at the front edge near the control panel, remove the four screws .....on the left/ right sides you will see the screws holding the rear part of the cooktop , remove them..
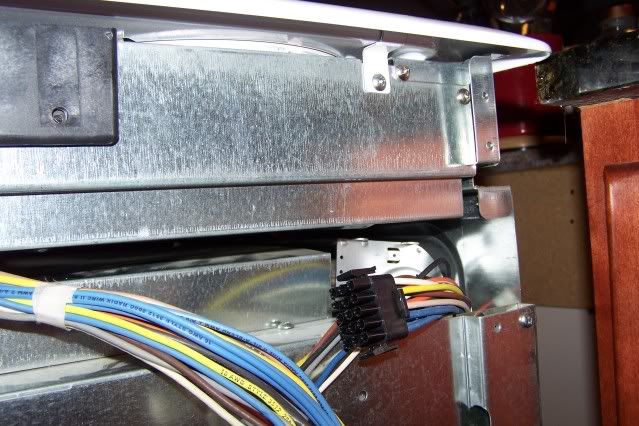
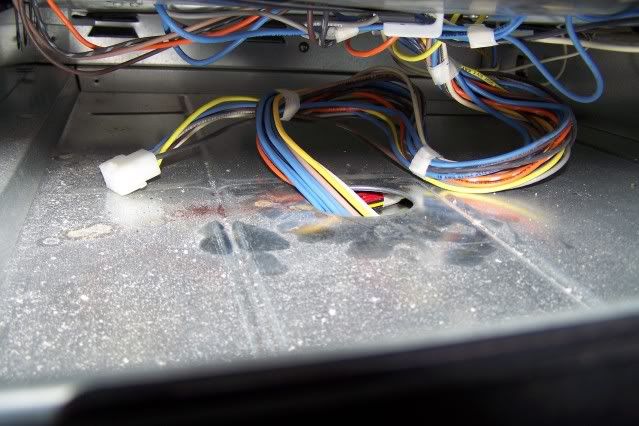
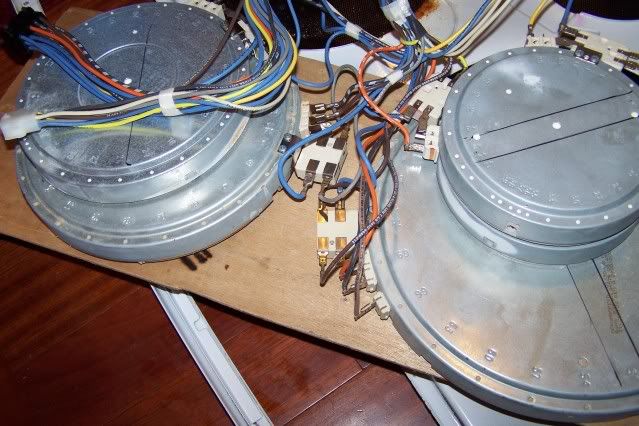
..disconnect the wire harness
....lift the cooktop and push/pull the harnessout of the opening, then remove the cooktop.......
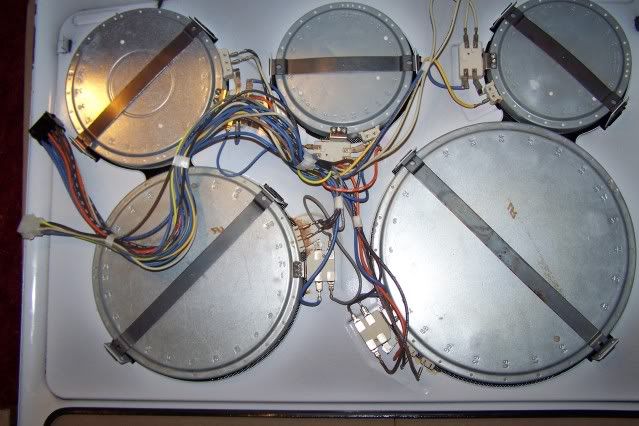
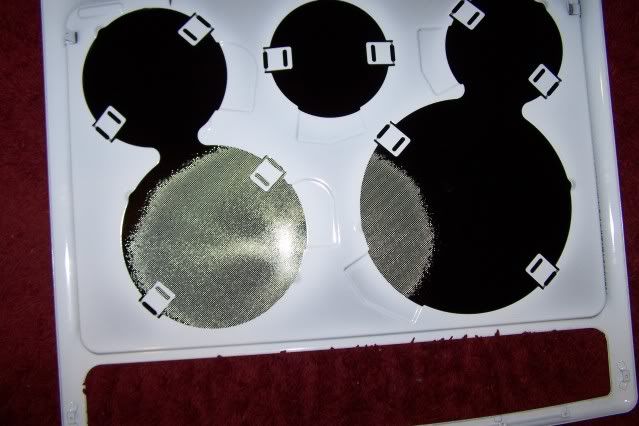
..lay it upside down on a padded surface, lay the new one next to it
...lift all of the mounting brackets.. Mark the locations of the /straps on the base of the elements....I forgot to take a picture of the removal of the 'straps'....Insert a small bladed screw driver in between the strap and the bracket, pry down on the strap side till the bracket will slip over the strap, carefull, the strap is still under pressure. Now I know you are wondering " how am I going to lift all five elements with out breaking any-thing "??? Just go out to your service van and get a piece of ply wood ( more on your unusual wood products later )..
..Stack the element onto the wood , transfer to the new cooktop and install into the correct locations.. Use the previous marks to align the strap locations..Use the same screw driver to reinstall the straps... ( picture here ))...Just push the bracket over the strap and remove the tool... Lay the new cook top onto the range, re install the wire harness, connect them... Install the two cook top screws left/right sides... ( about 5 pictures ago to view )...Just lay the front gasket ( for the keypad ) on to the keypad untill you start to reassemble... Install the four fasteners across the front , near the keypad,.. to hold the cooktop in place,..................... position the gasket loosely and then tighten the four fasteners more, If you tight them just right the gasket will stay in place to finish tightening the fasteners..... Now just re install all of the parts in the reverse order ..................Hope fully everything should go as planed..................
-
 1
1


0 Comments
Recommended Comments
There are no comments to display.